
Lesson
2.2 ACP IDE Mode. Integrating Claude Code into VS Code, WebStorm (PyCharm and other JetBrains products), and Zed
In the previous lesson, we installed Claude Code. However, you will still need a code editor where you can view changes and edit files. Almost every modern code editor allows you to open one or even several terminals simultaneously and run any commands, as well as the application you are developing, within them.
In general, you can run Claude Code right there, but that is not always the best way to integrate it. Usually, there are plugins or extensions for all IDEs that provide tighter integration, offering more capabilities. There is a special universal protocol called ACP for connecting code agents.
Today, we will look at connecting an AI agent to popular development environments.
What problem does the ACP protocol solve?
ACP (Agent Communication/Client Protocol) is a universal protocol for communication between an AI agent and a development environment (IDE) or client application.
Before its inception, to achieve tight AI integration into a development environment, one had to write a separate, custom plugin.
Now, if an IDE supports ACP, you can integrate Claude Code, Codex, and OhMyPi, and OpenCode in exactly the same way.
Ideally, you should find an extension for your IDE that implements the ACP protocol if it is not supported out of the box.
Connecting Claude Code to VS Code
It's simple here. The official extension works with both the subscription and our local models.
Option one: Claude Code only
Click Install for VS Code
After clicking, VS Code opens, and we hit the Install
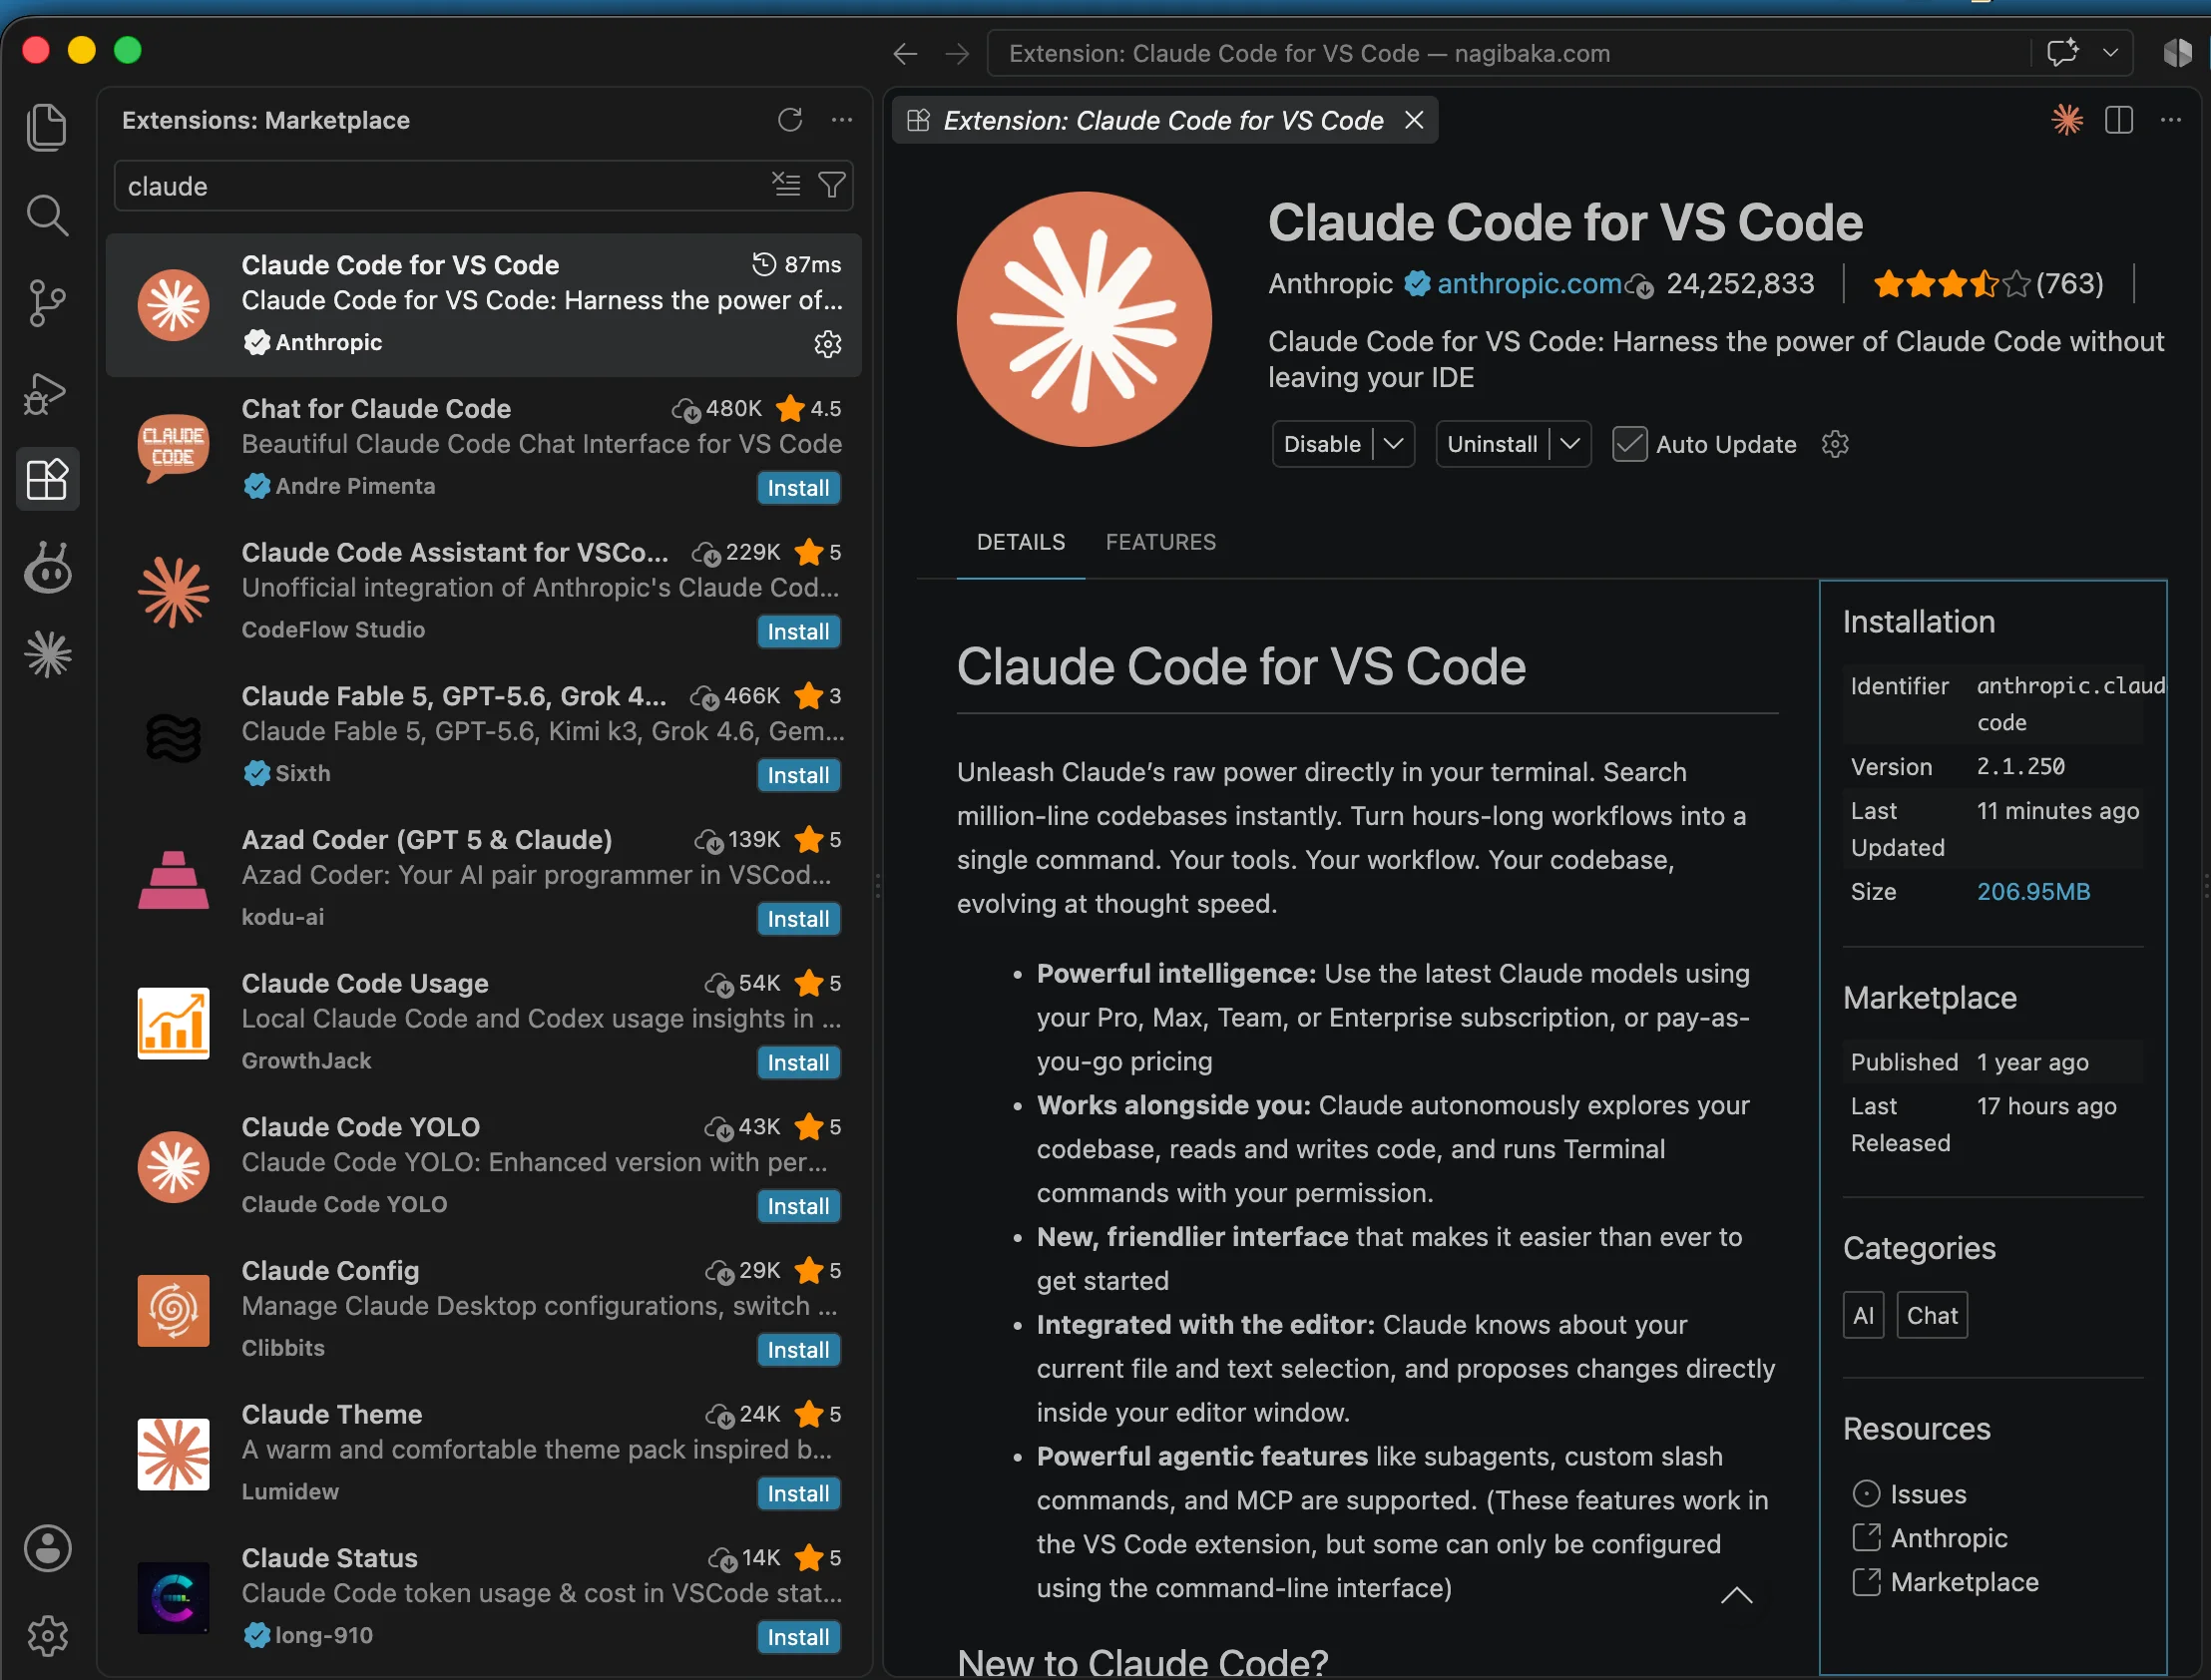
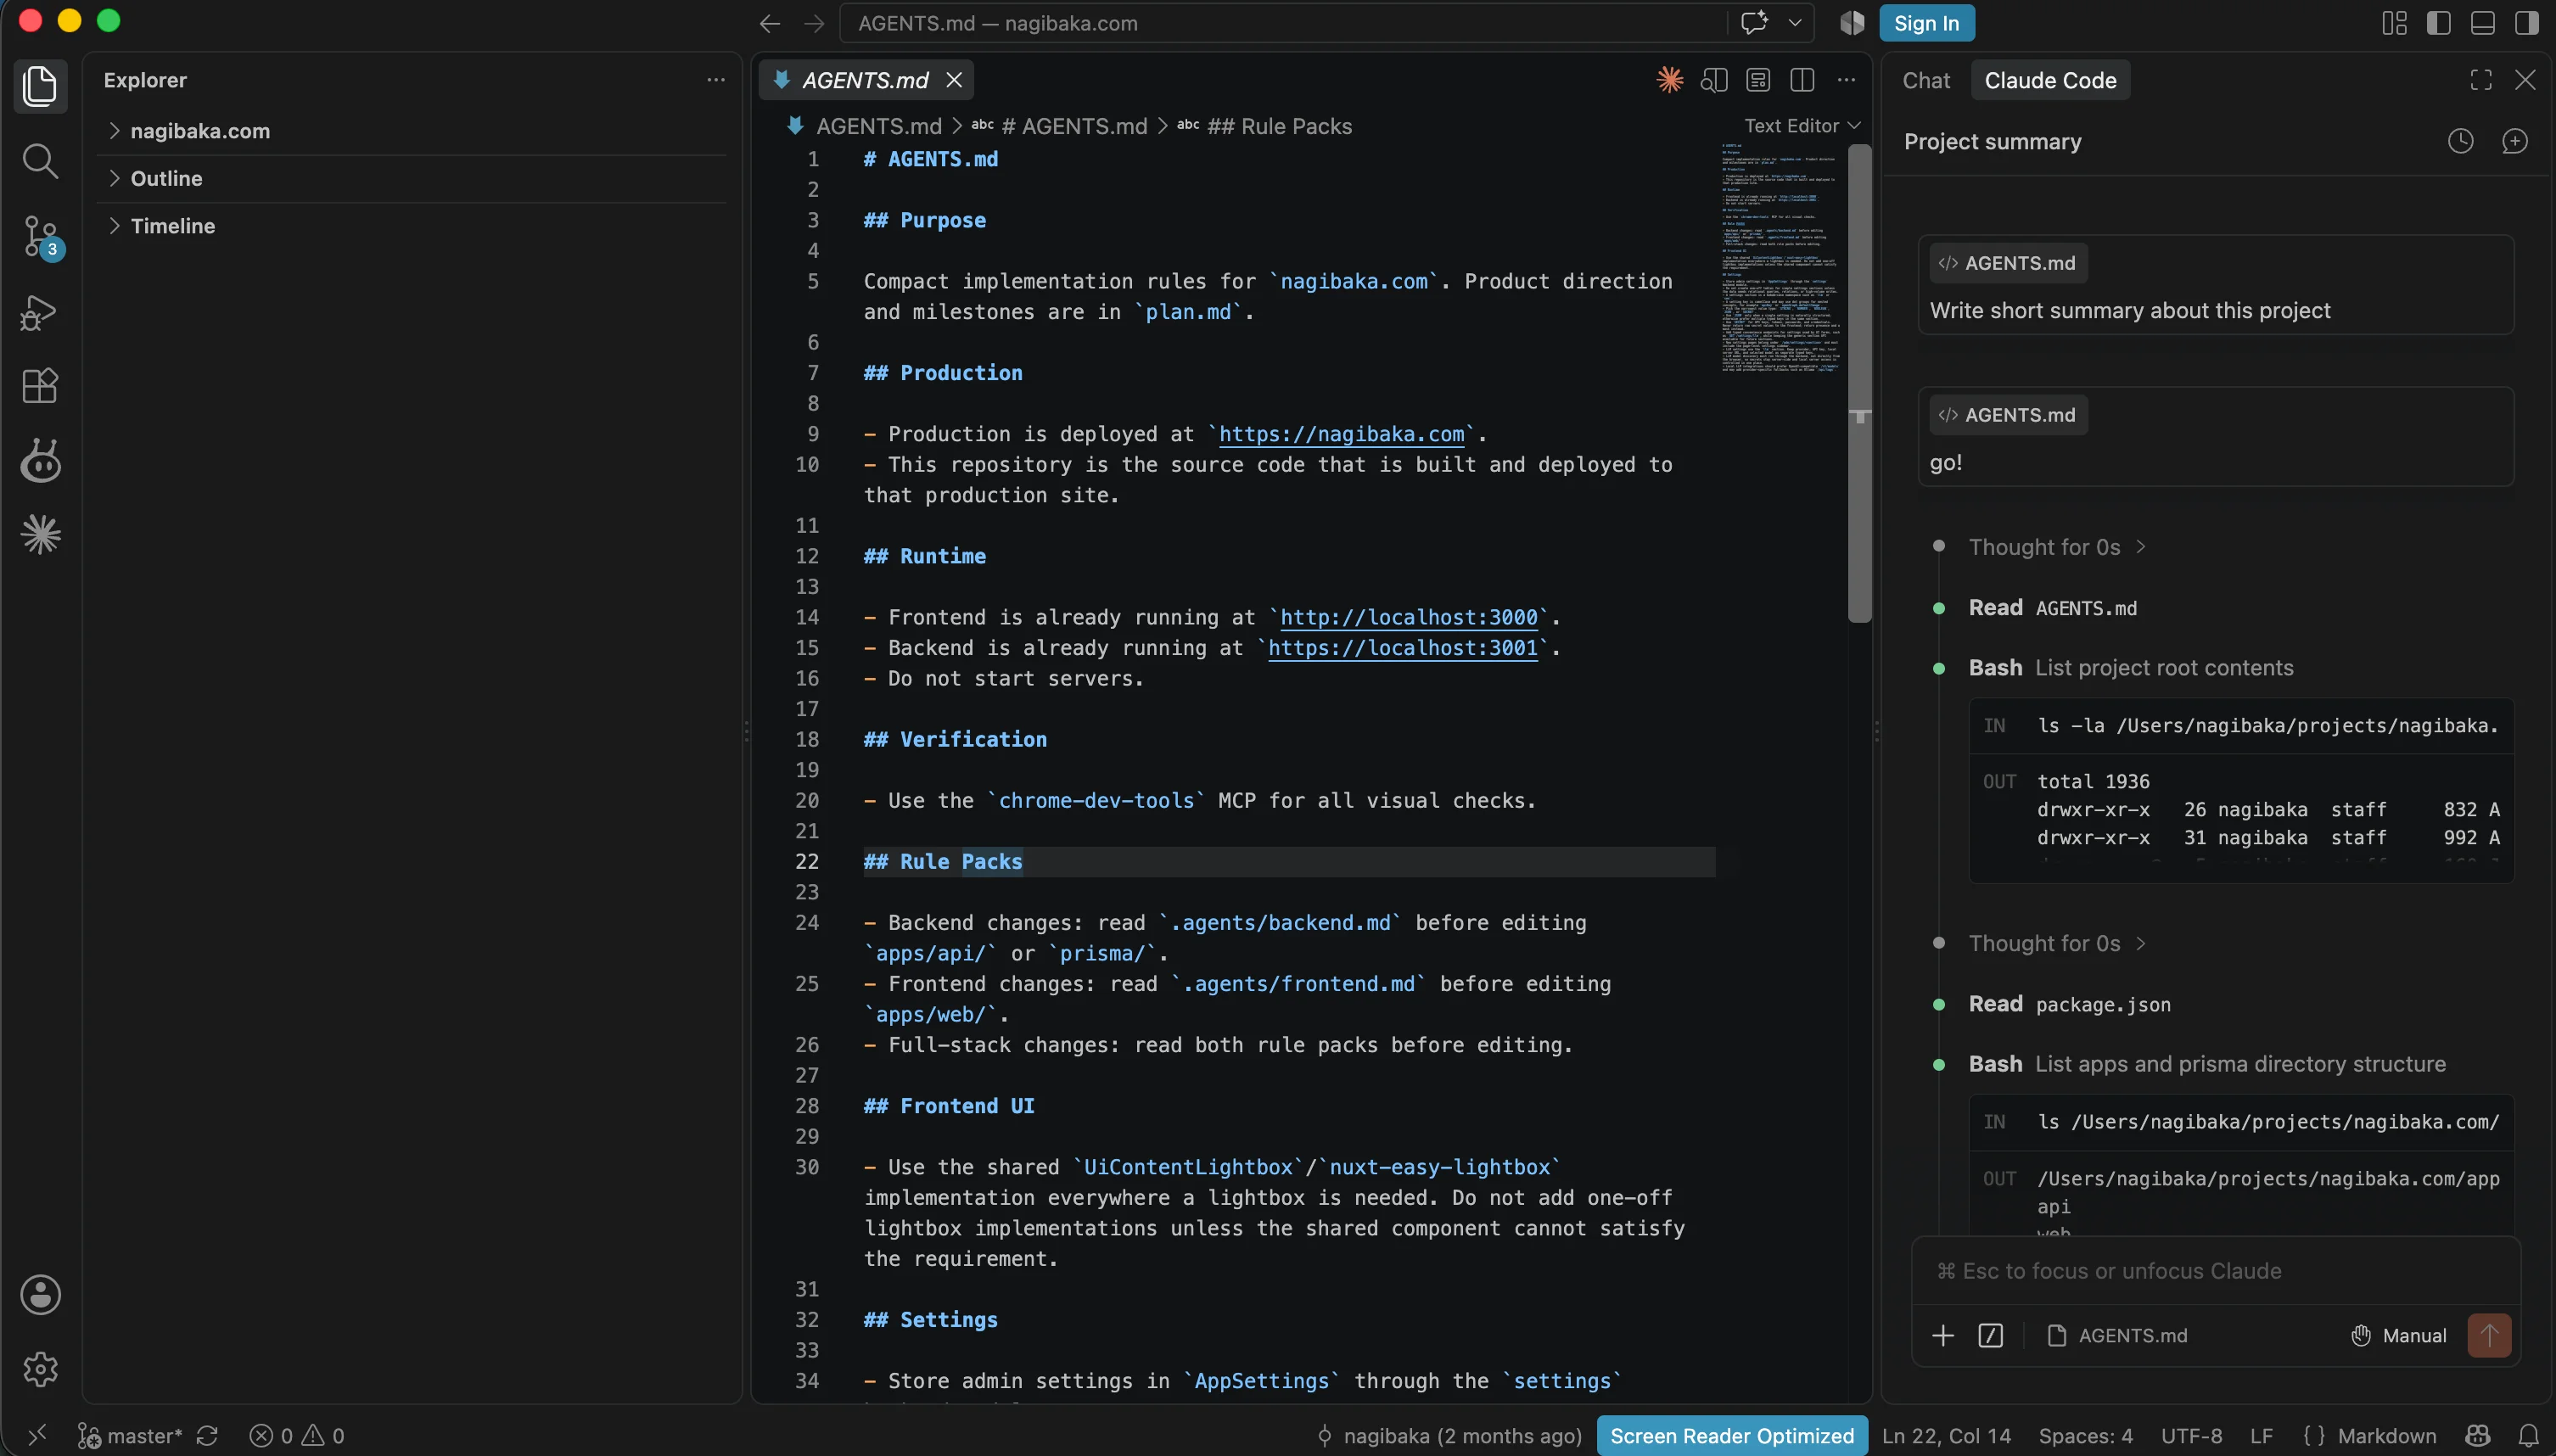
Voila! A new tab with Claude Code appears in the right sidebar, where we can write our prompts.
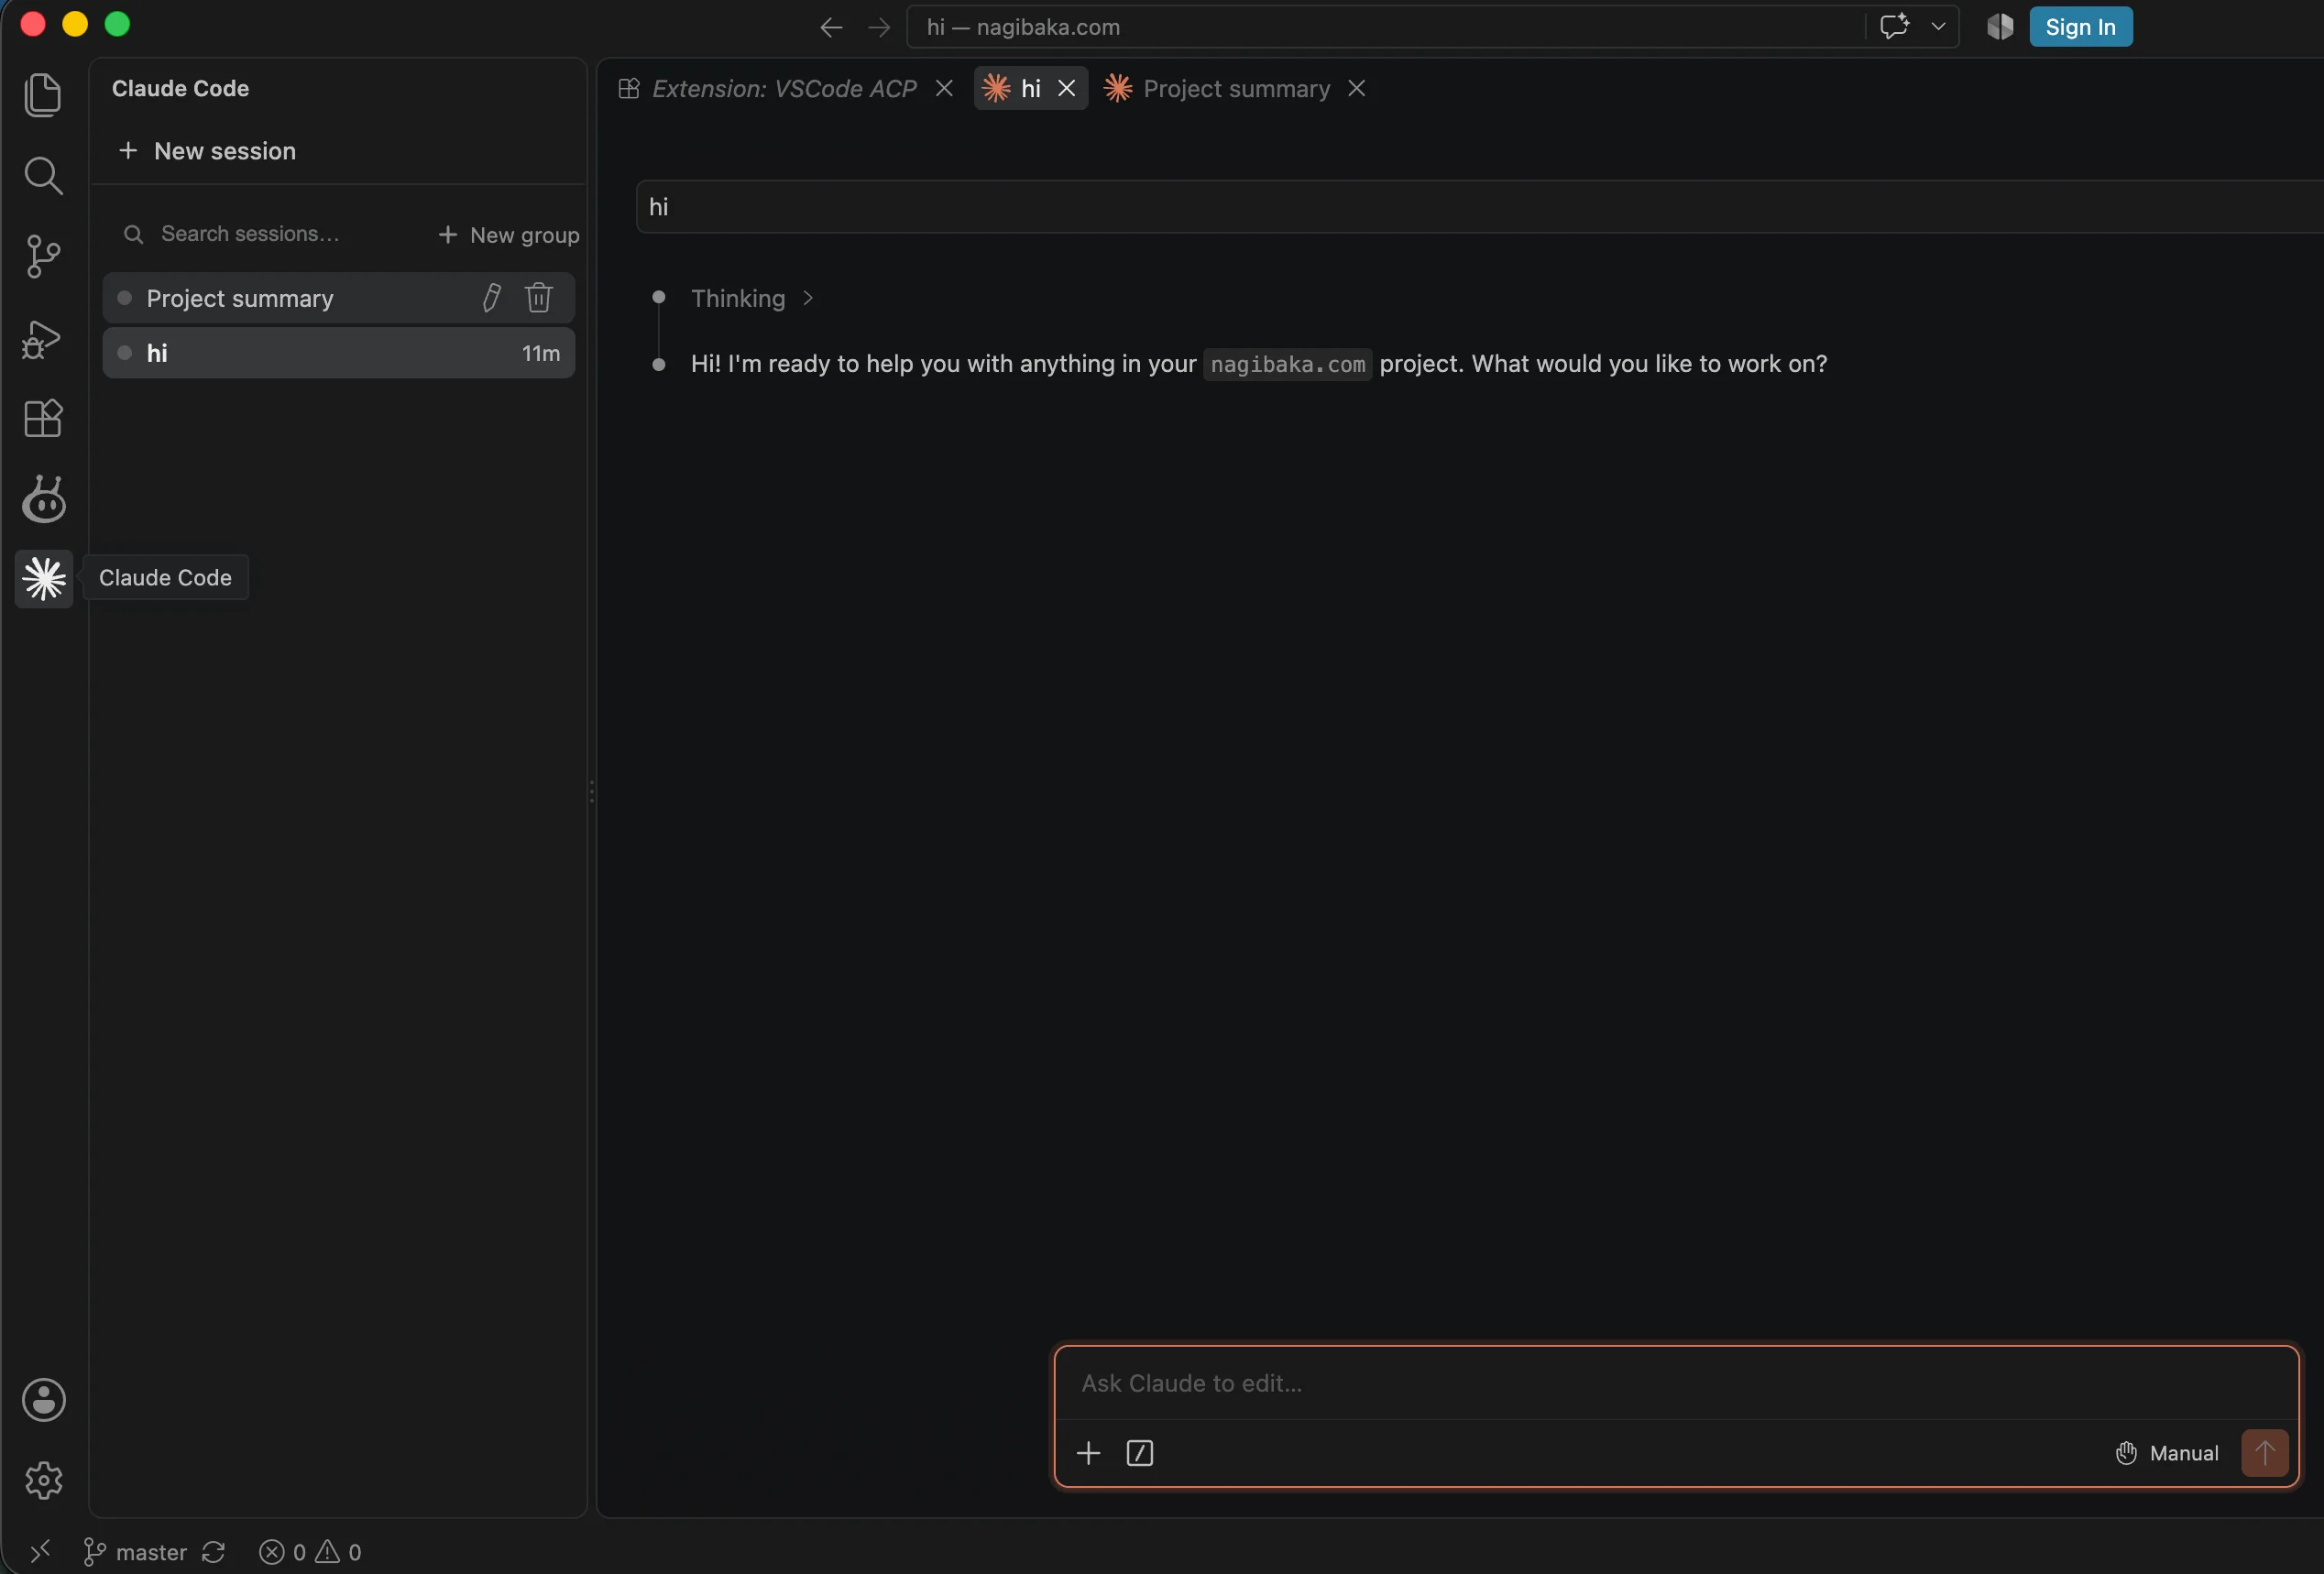
An icon for opening this extension also becomes available in the left panel. This way of working is more convenient; it includes a list of sessions, and you can switch between them and work with multiple sessions simultaneously.
Done! Time to code!
Second option: universal for popular agents via ACP
For this option, you need to download the VSCode ACP by Omer C
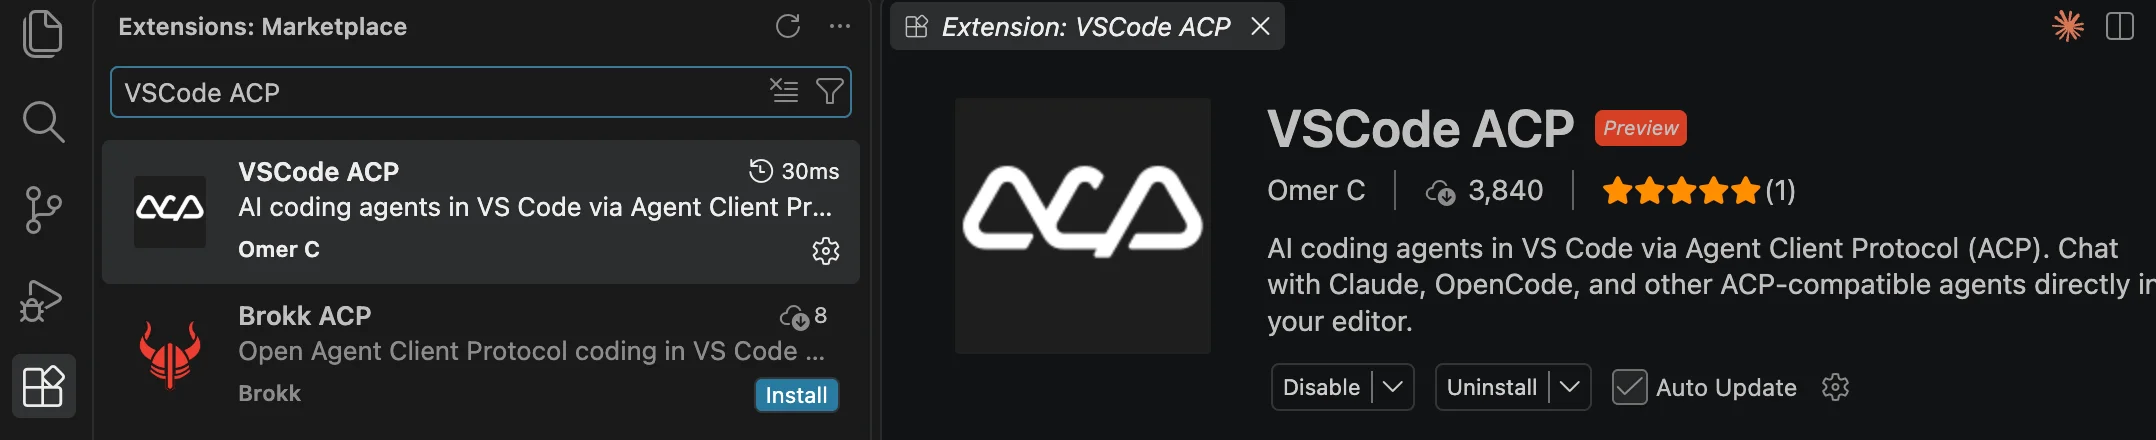
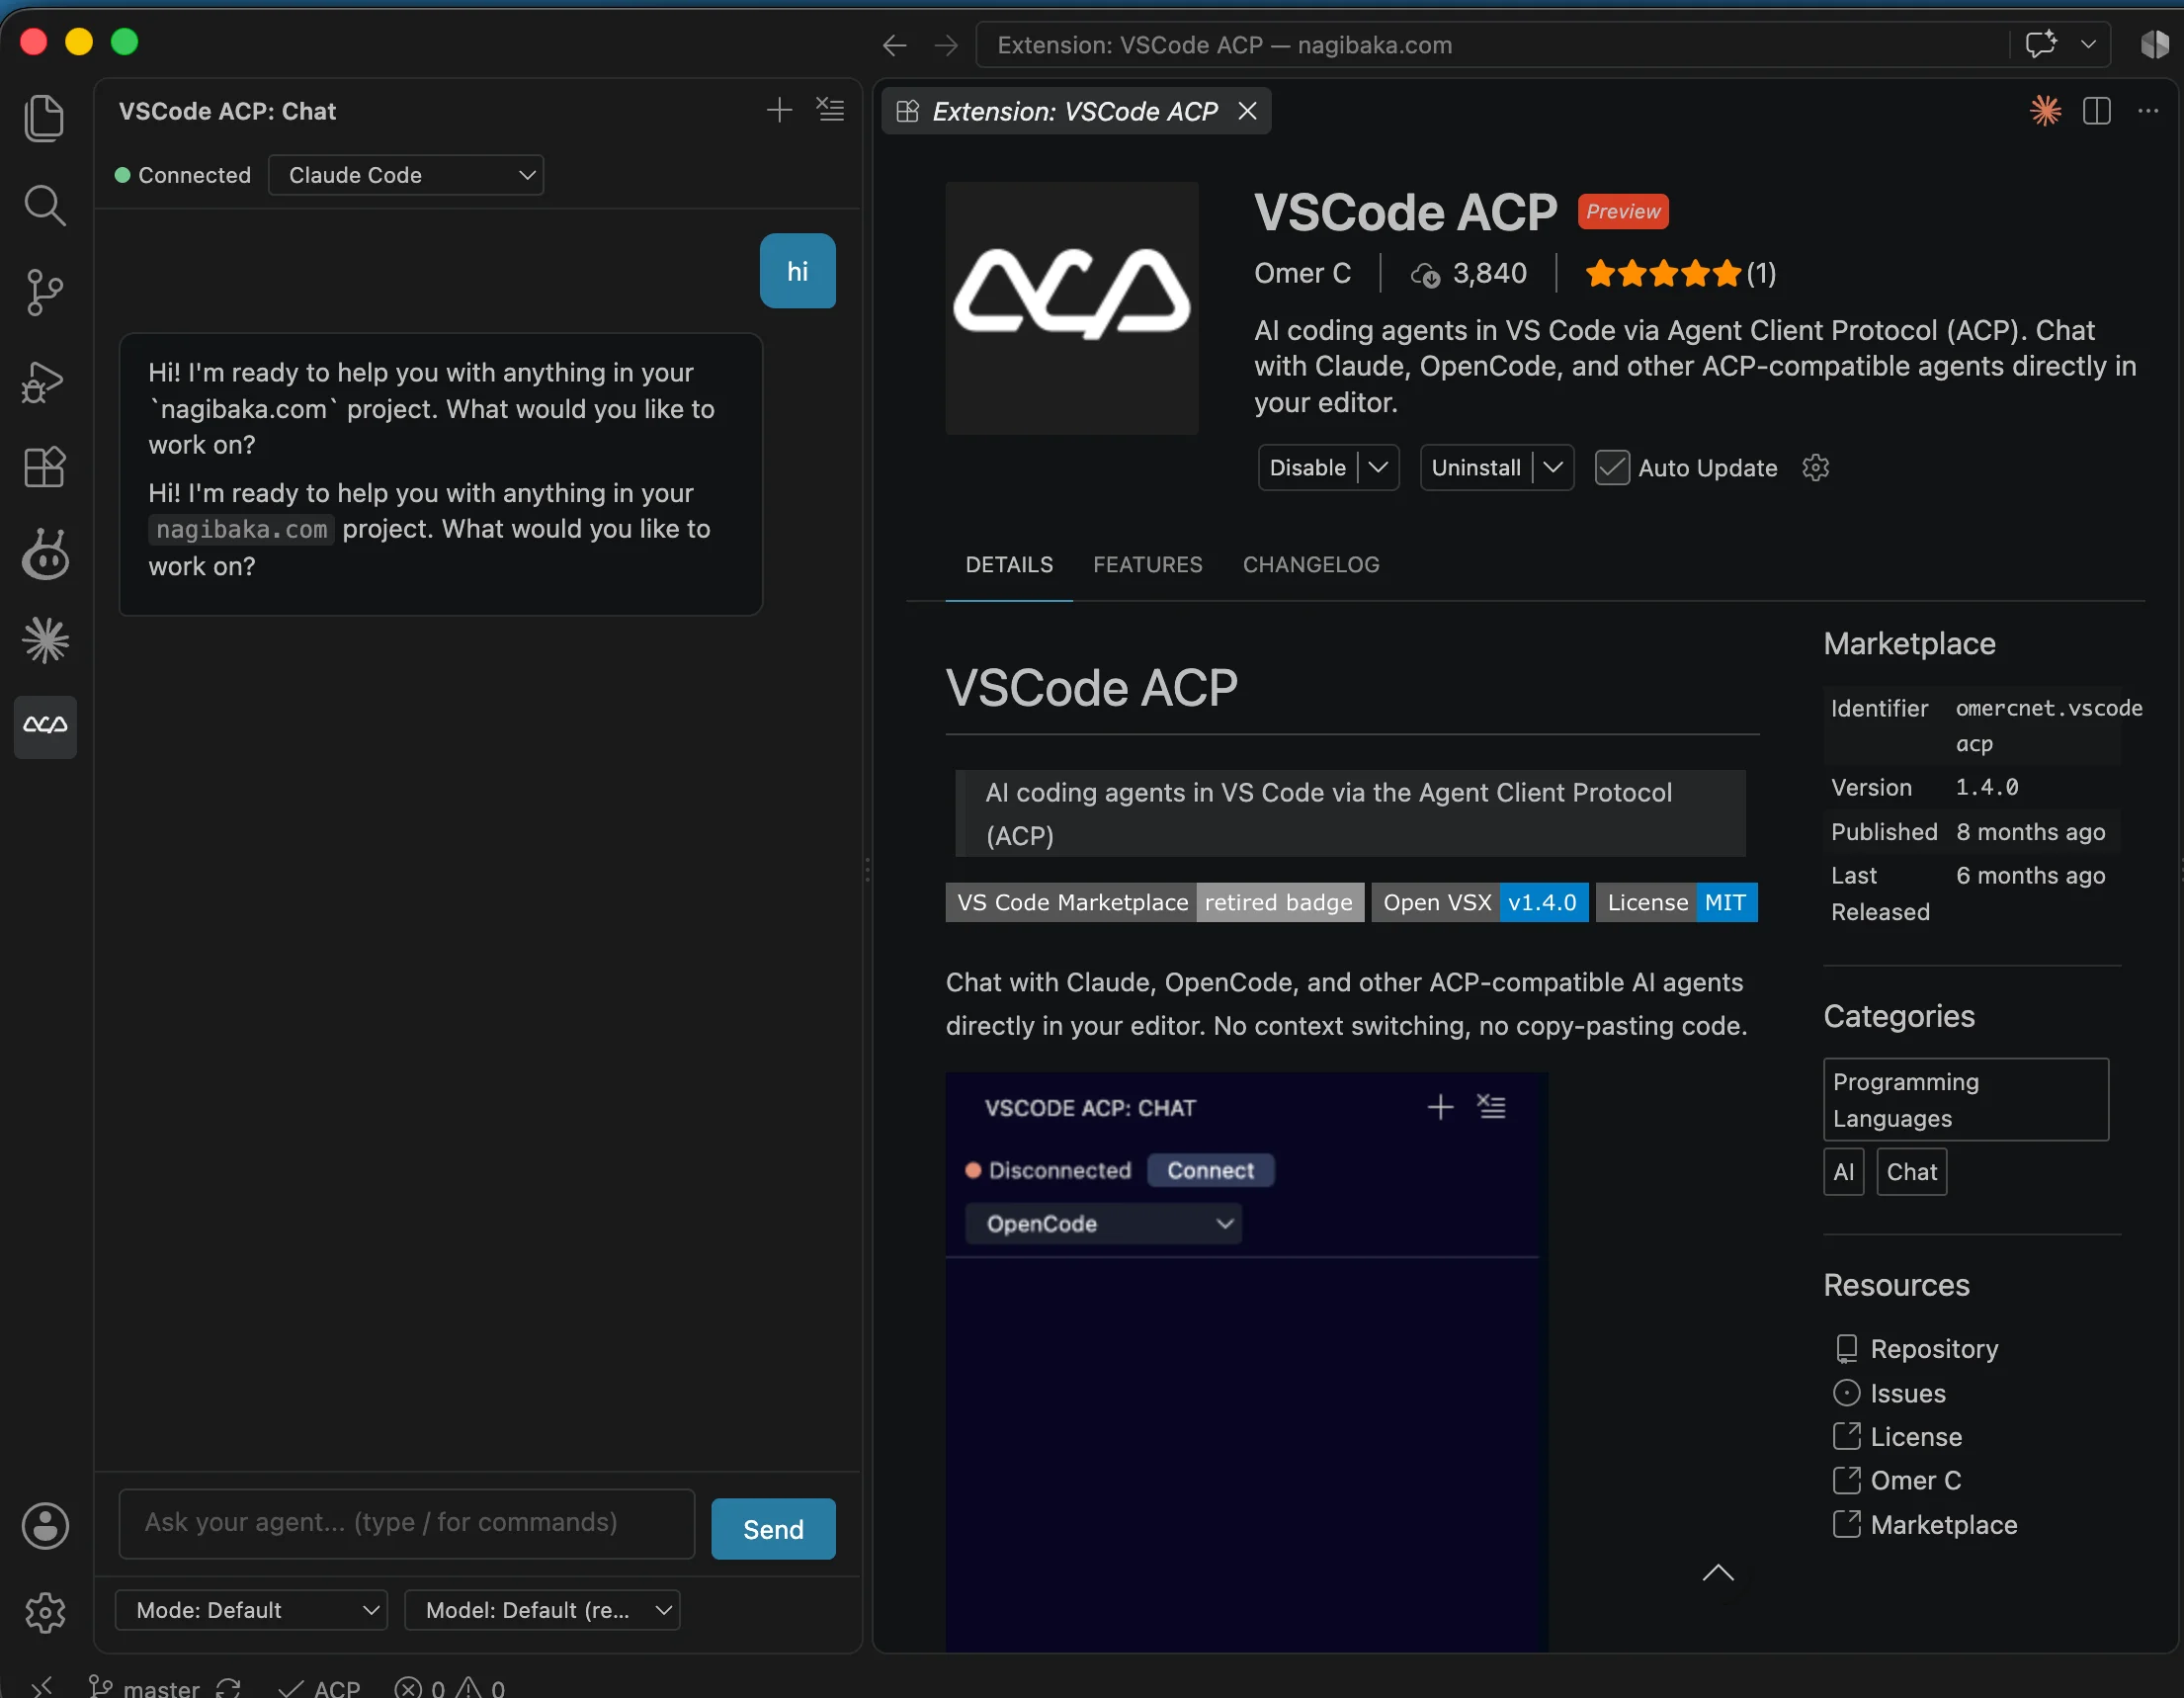
An extension icon will appear at the bottom left, and clicking it will open the agent panel on the left, where you can select an AI agent and start a conversation.
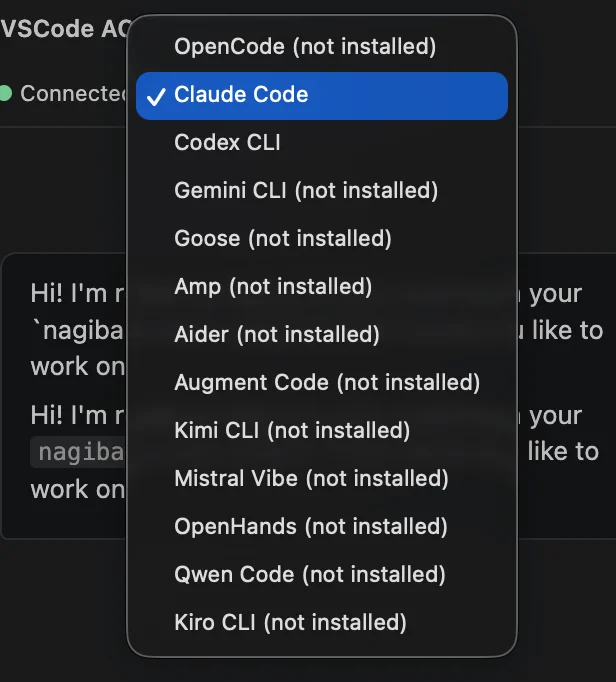
This ACP supports the following agents:
Connecting Claude Code to WebStorm (PyCharm and other JetBrains products)
JetBrains has a whole zoo of code editors for different languages and platforms. The beauty is that their extensions are compatible across different code editors. Therefore, you can use the same extension for WebStorm and PyCharm, for example.
The Claude Code plugin works with the following JetBrains IDE products:
IntelliJ IDEA
PyCharm
Android Studio
WebStorm
PhpStorm
GoLand
The official website provides instructions at https://code.claude.com/docs/en/jetbrains
That shows a more complex path involving downloading an archive, but I suggest a simpler method.
Go to the settings in the Plugins section. The official Claude Code (Beta) plugin with 4 million downloads was updated a year ago, and there is a more recent and popular one: Claude Code with GUI by yhk1038
Let's install it.
Click Install-Apply-Ok.
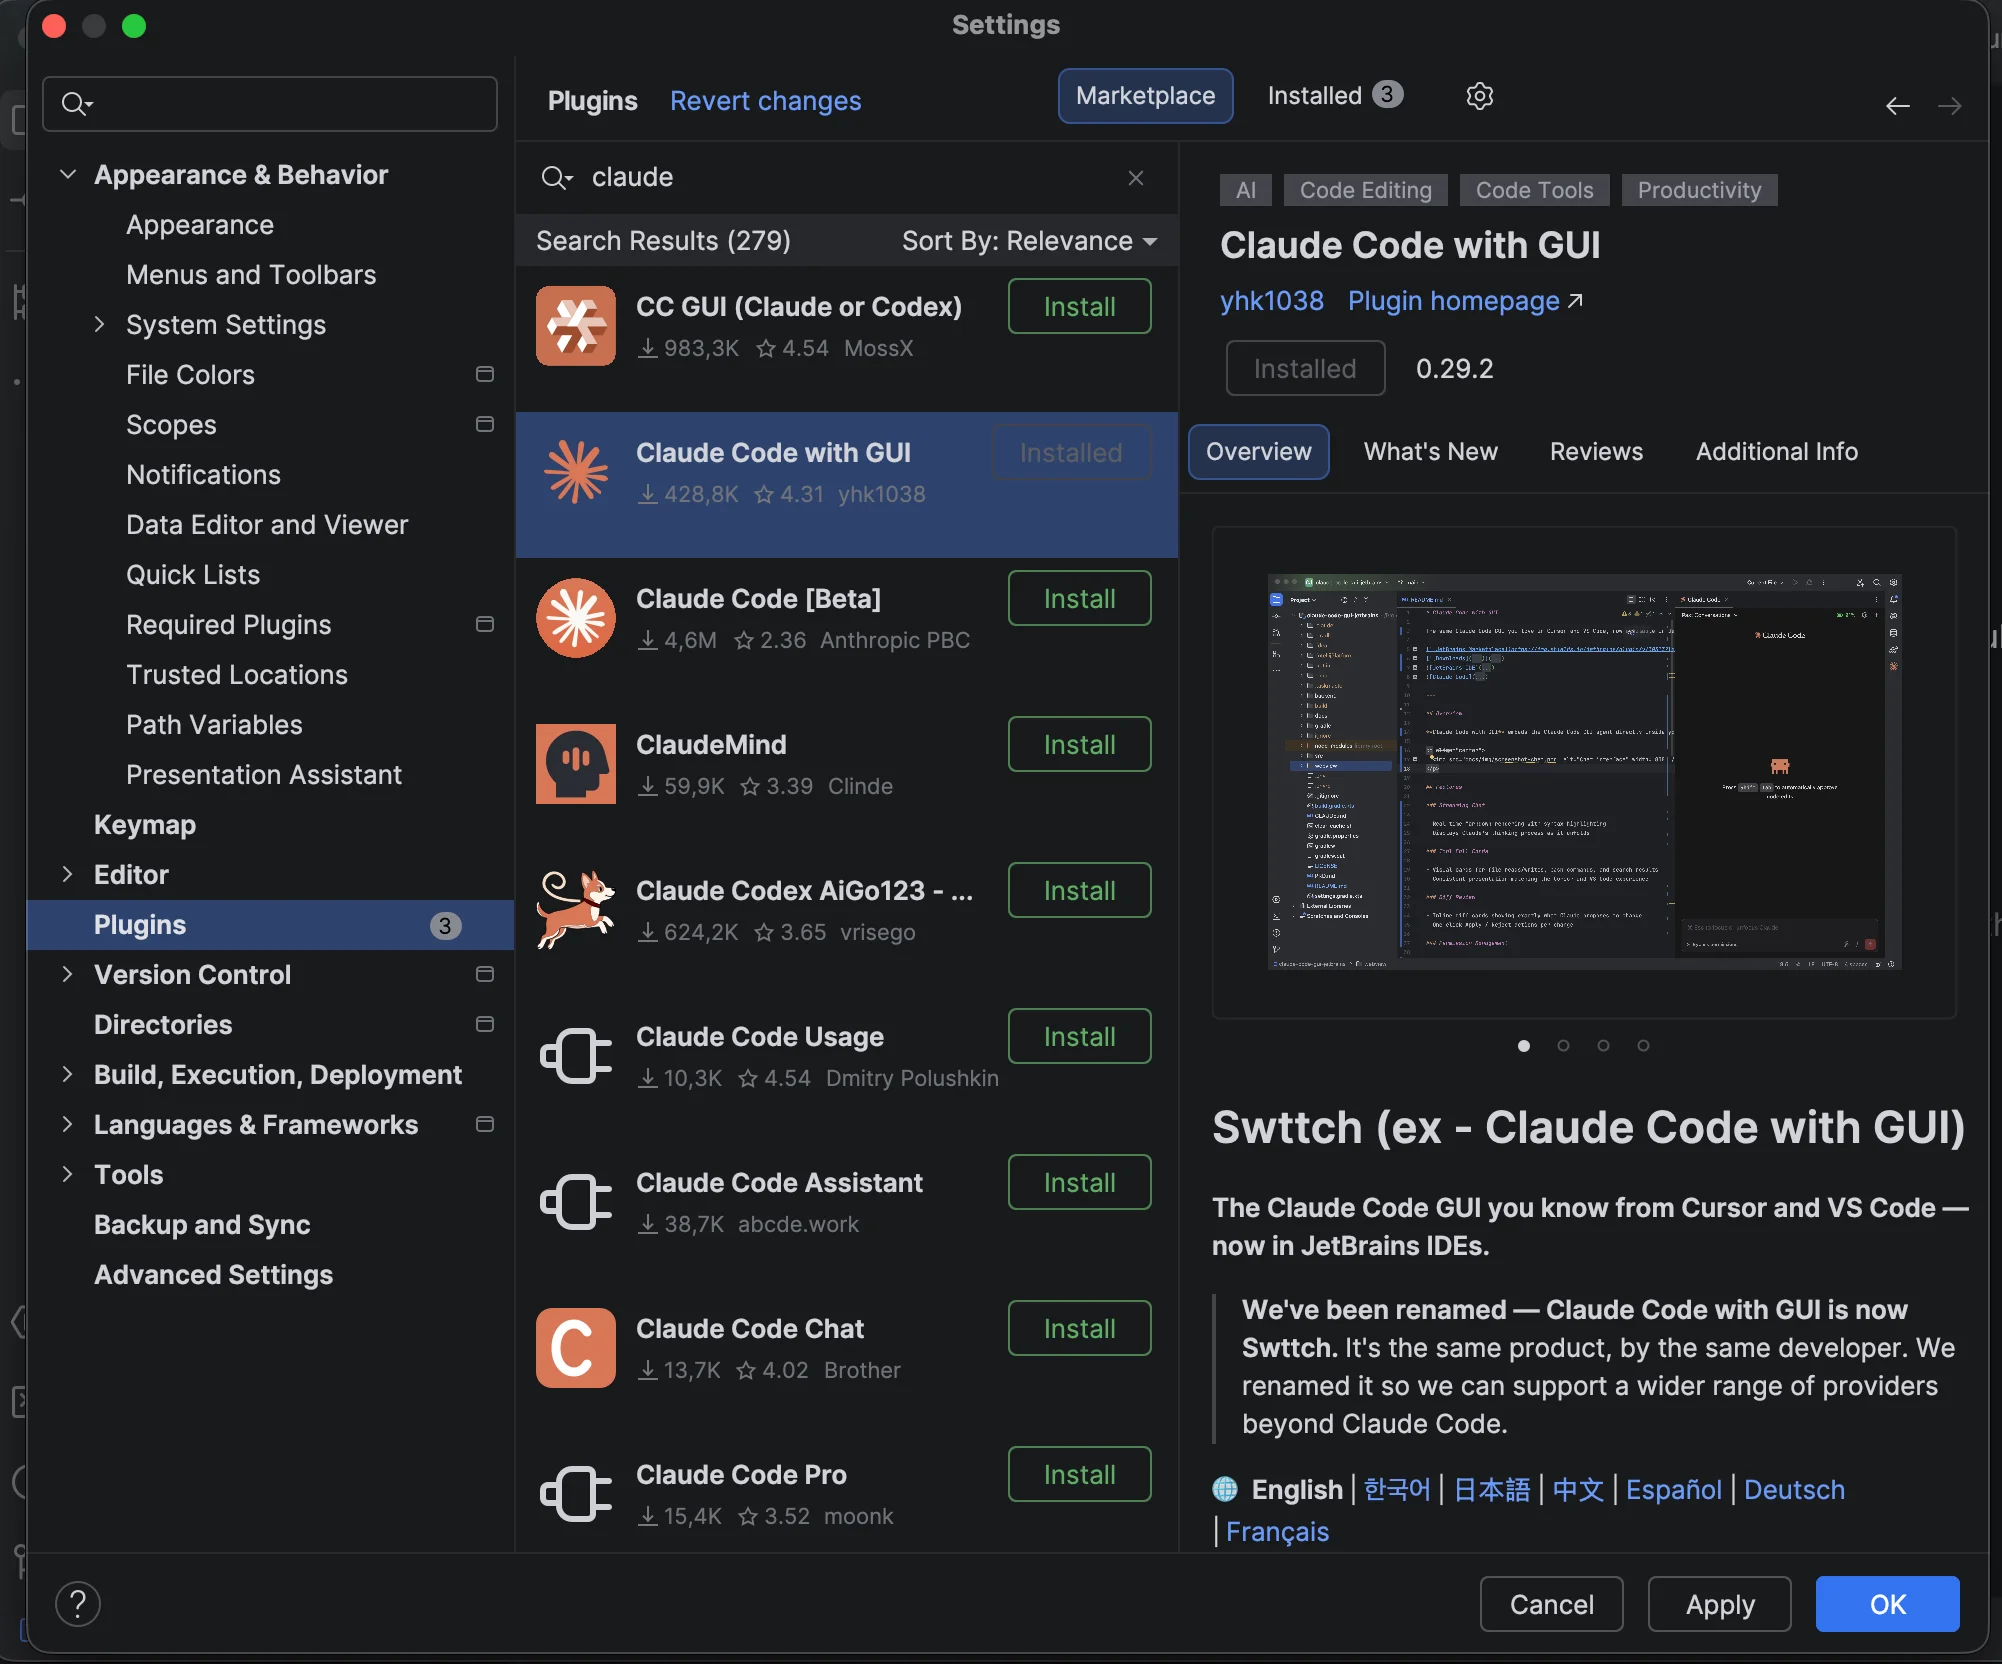
This is how it looks and how it is activated in the right sidebar. Sessions are accessible from the left.
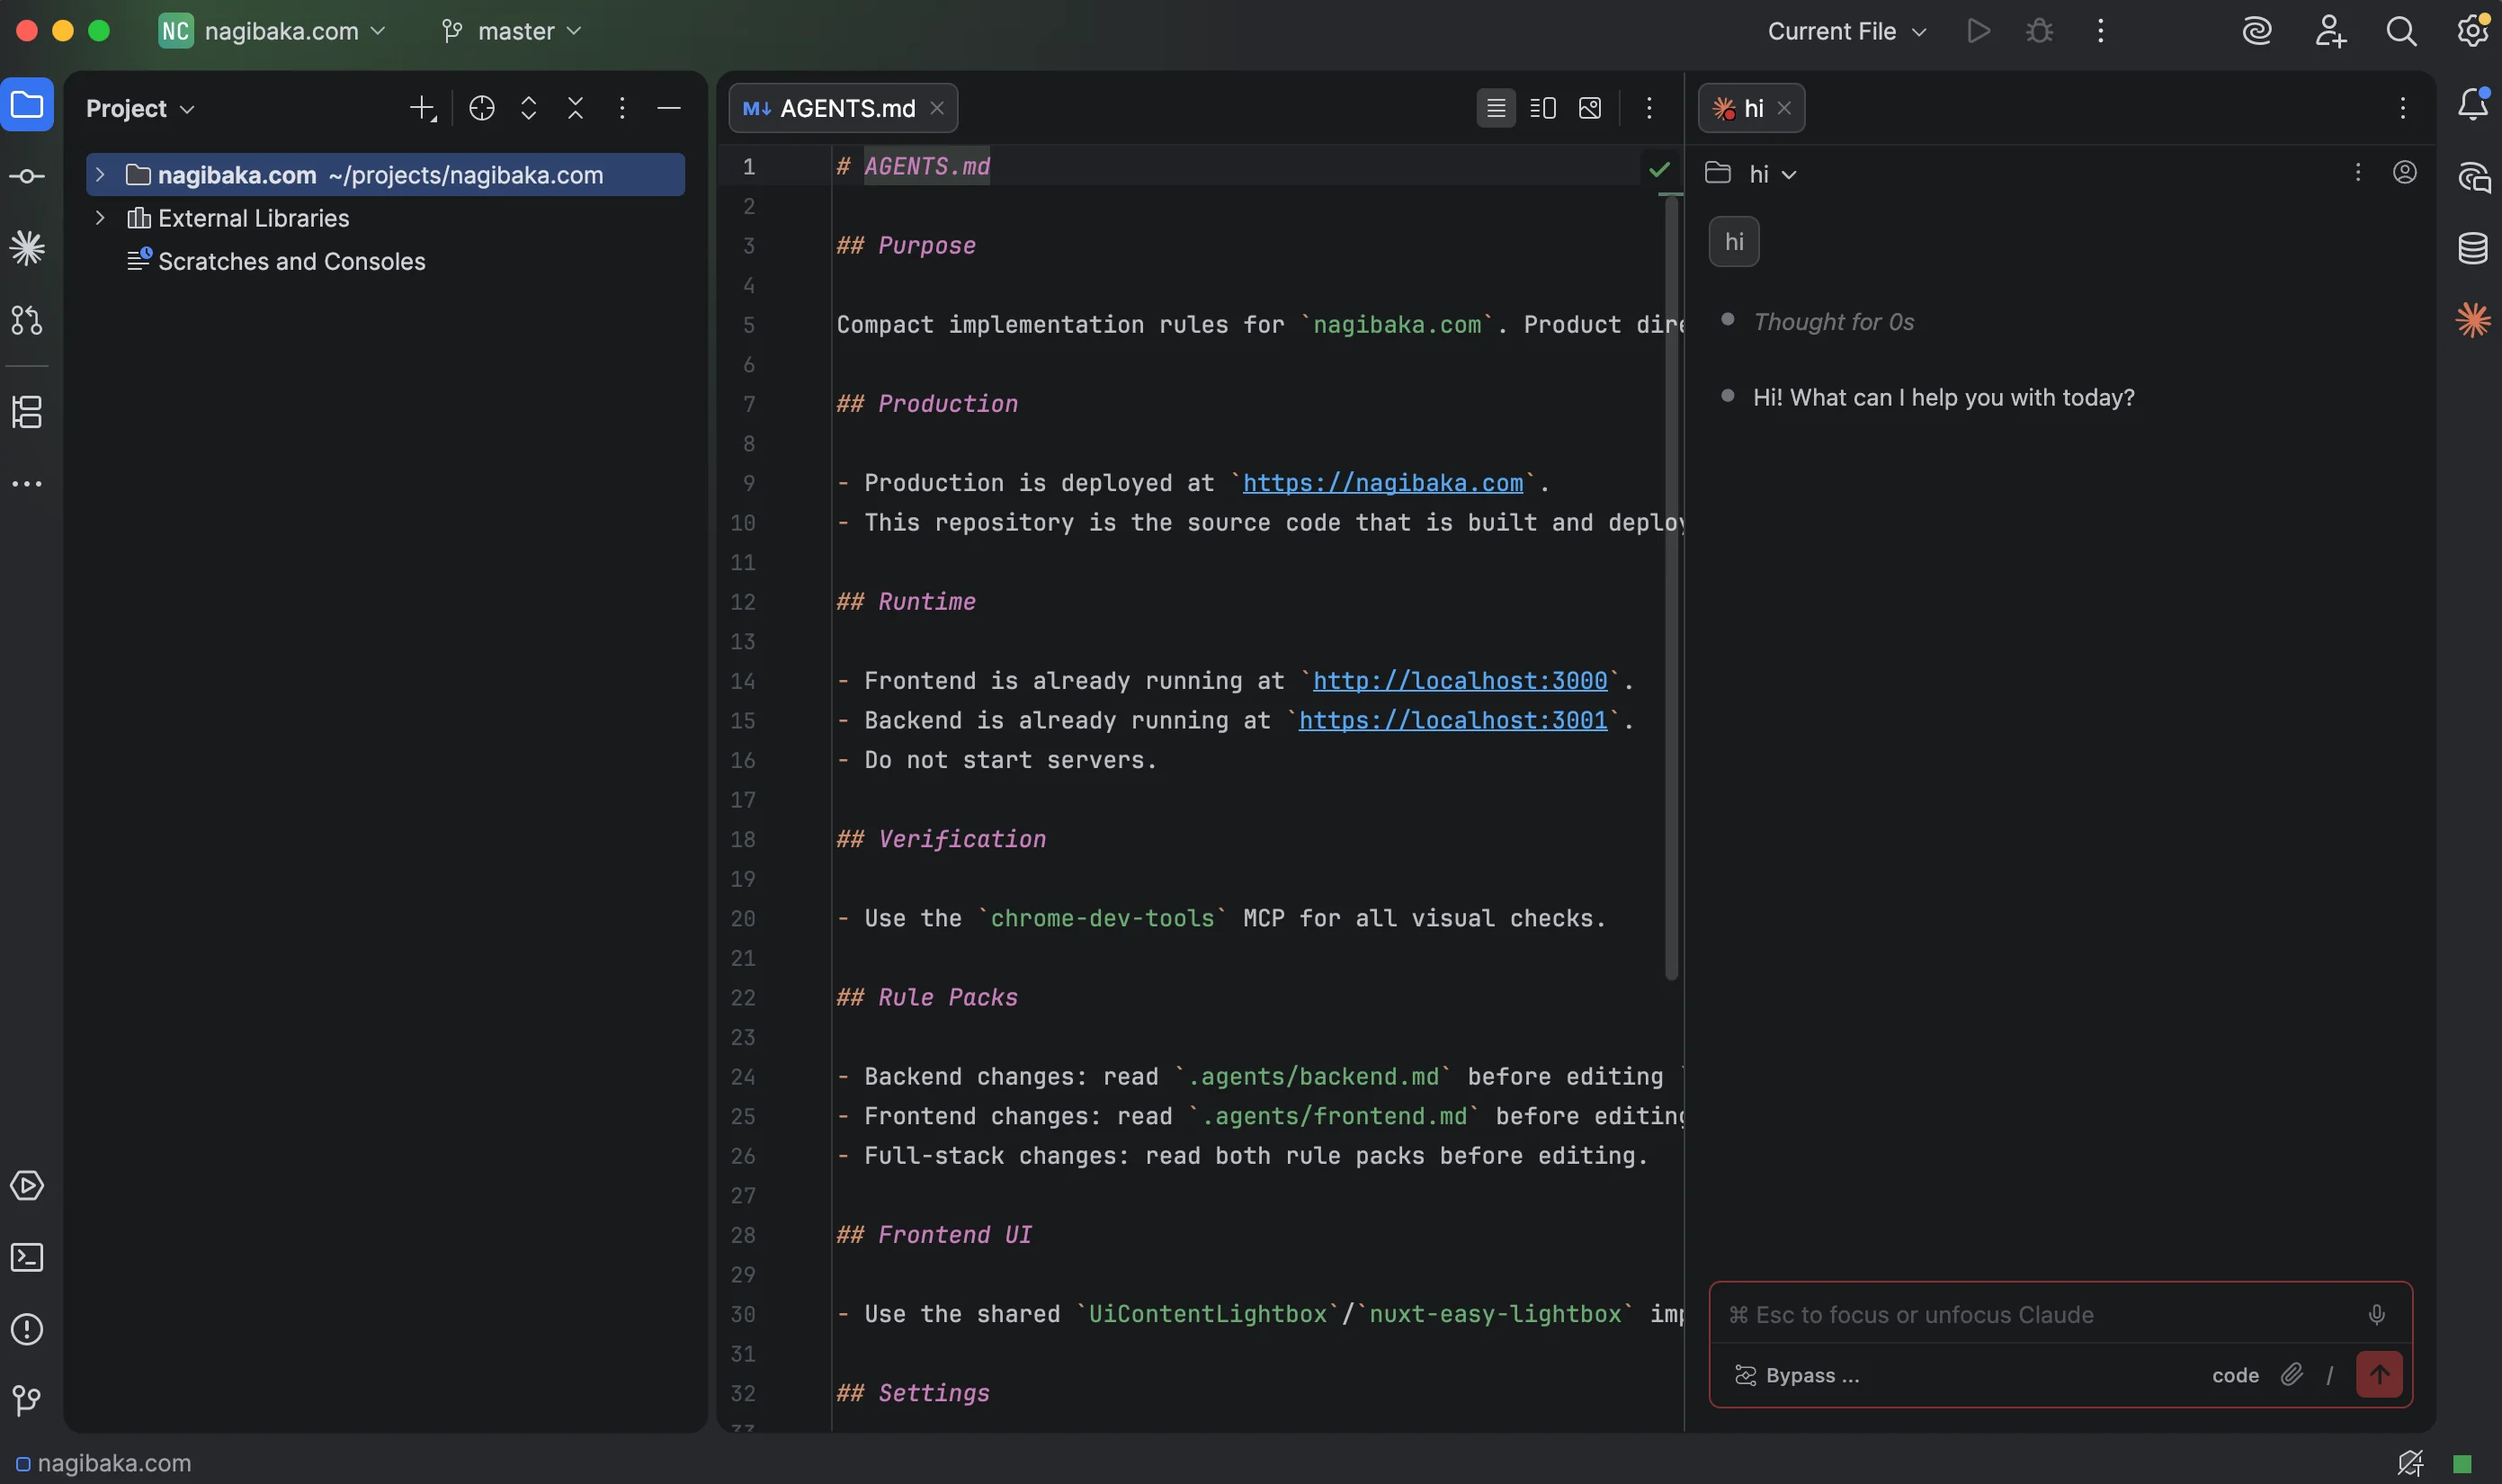
Now let's move on to the last editor.
Connecting Claude Code to the Zed editor via ACP
Zed is a relatively new and very fast IDE written in the high-performance Rust language, aimed at development with AI agents. In this editor, the integration with AI is the most profound.
Currently, this is my primary tool. It is convenient to work with several projects and sessions simultaneously. There is also a cool feature: adding two different repositories to a project and making edits in them at the same time. This can be useful for frontend and backend if they are in different repositories.
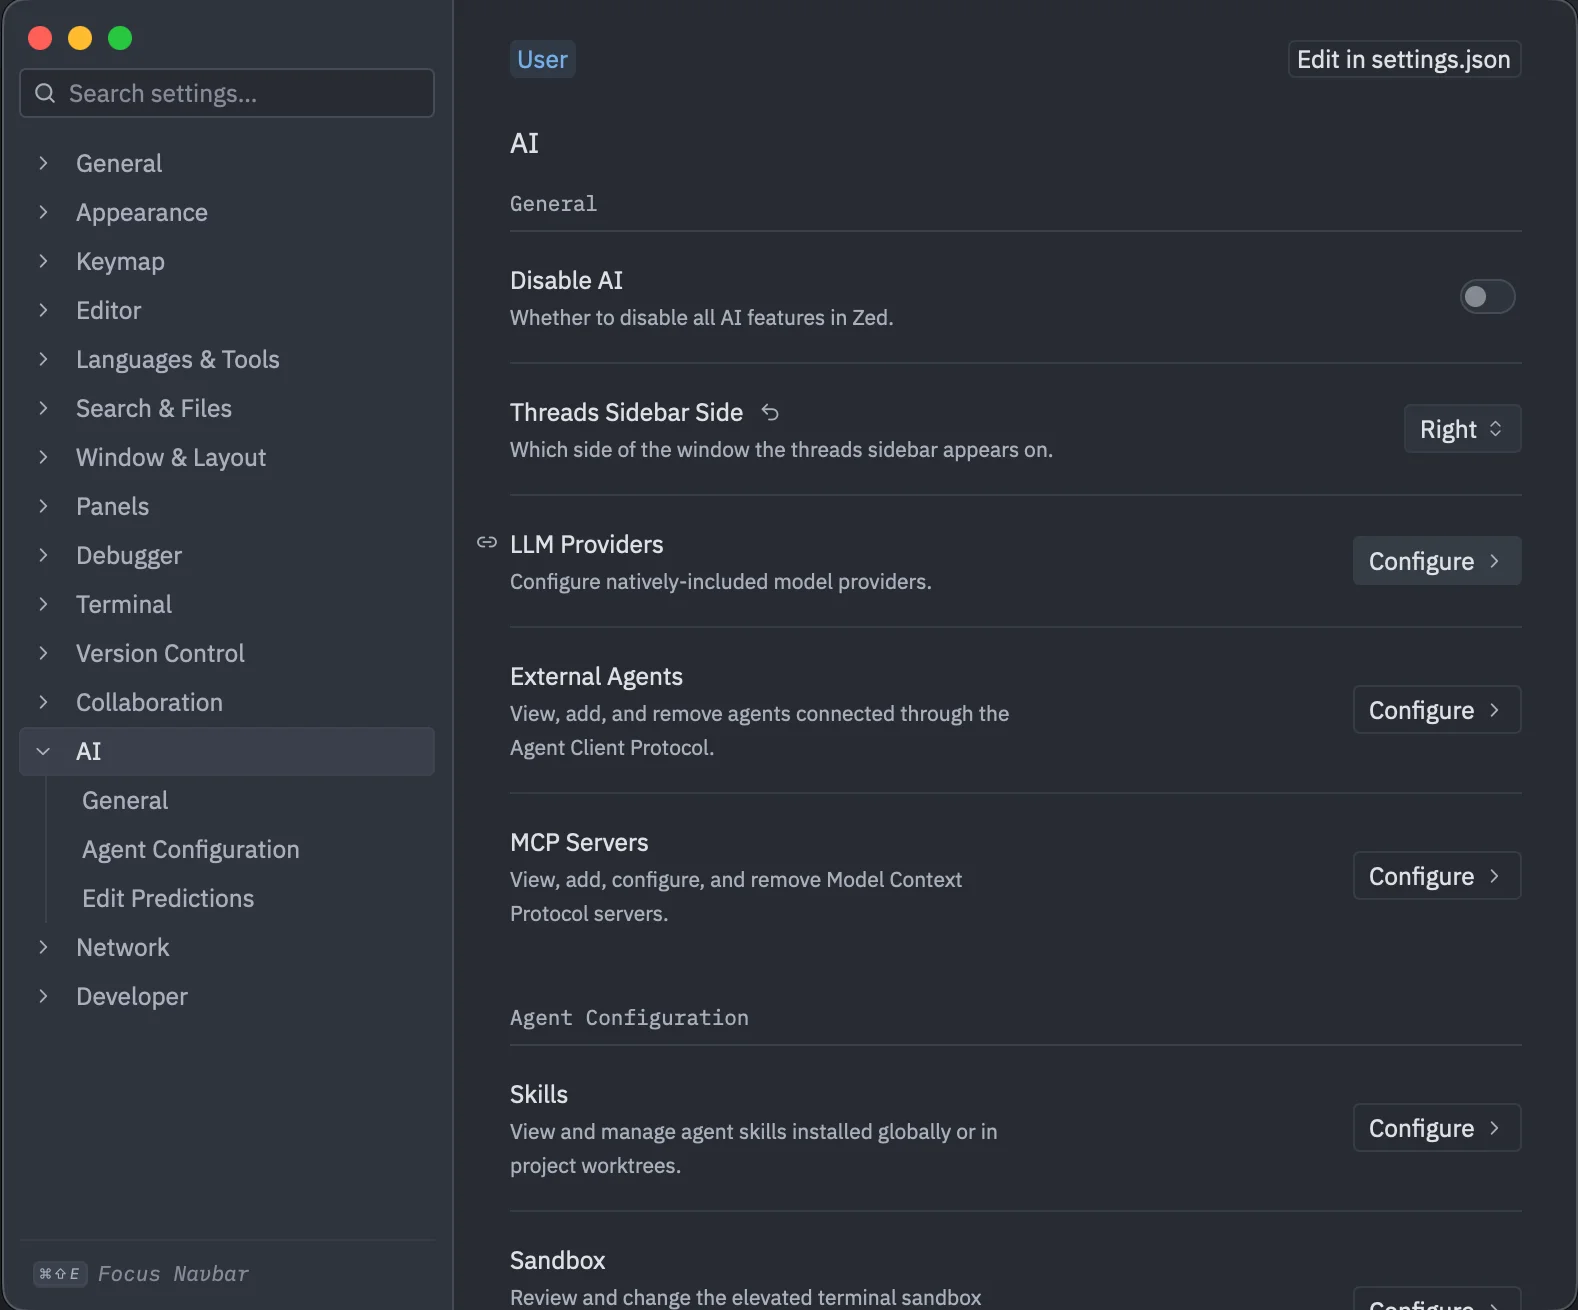
Go to settings.
You can connect agents via API keys, but we are specifically interested in connecting Claude Code with its wrapper for working with code.
To do this, find the section AI in the settings and click External Agents
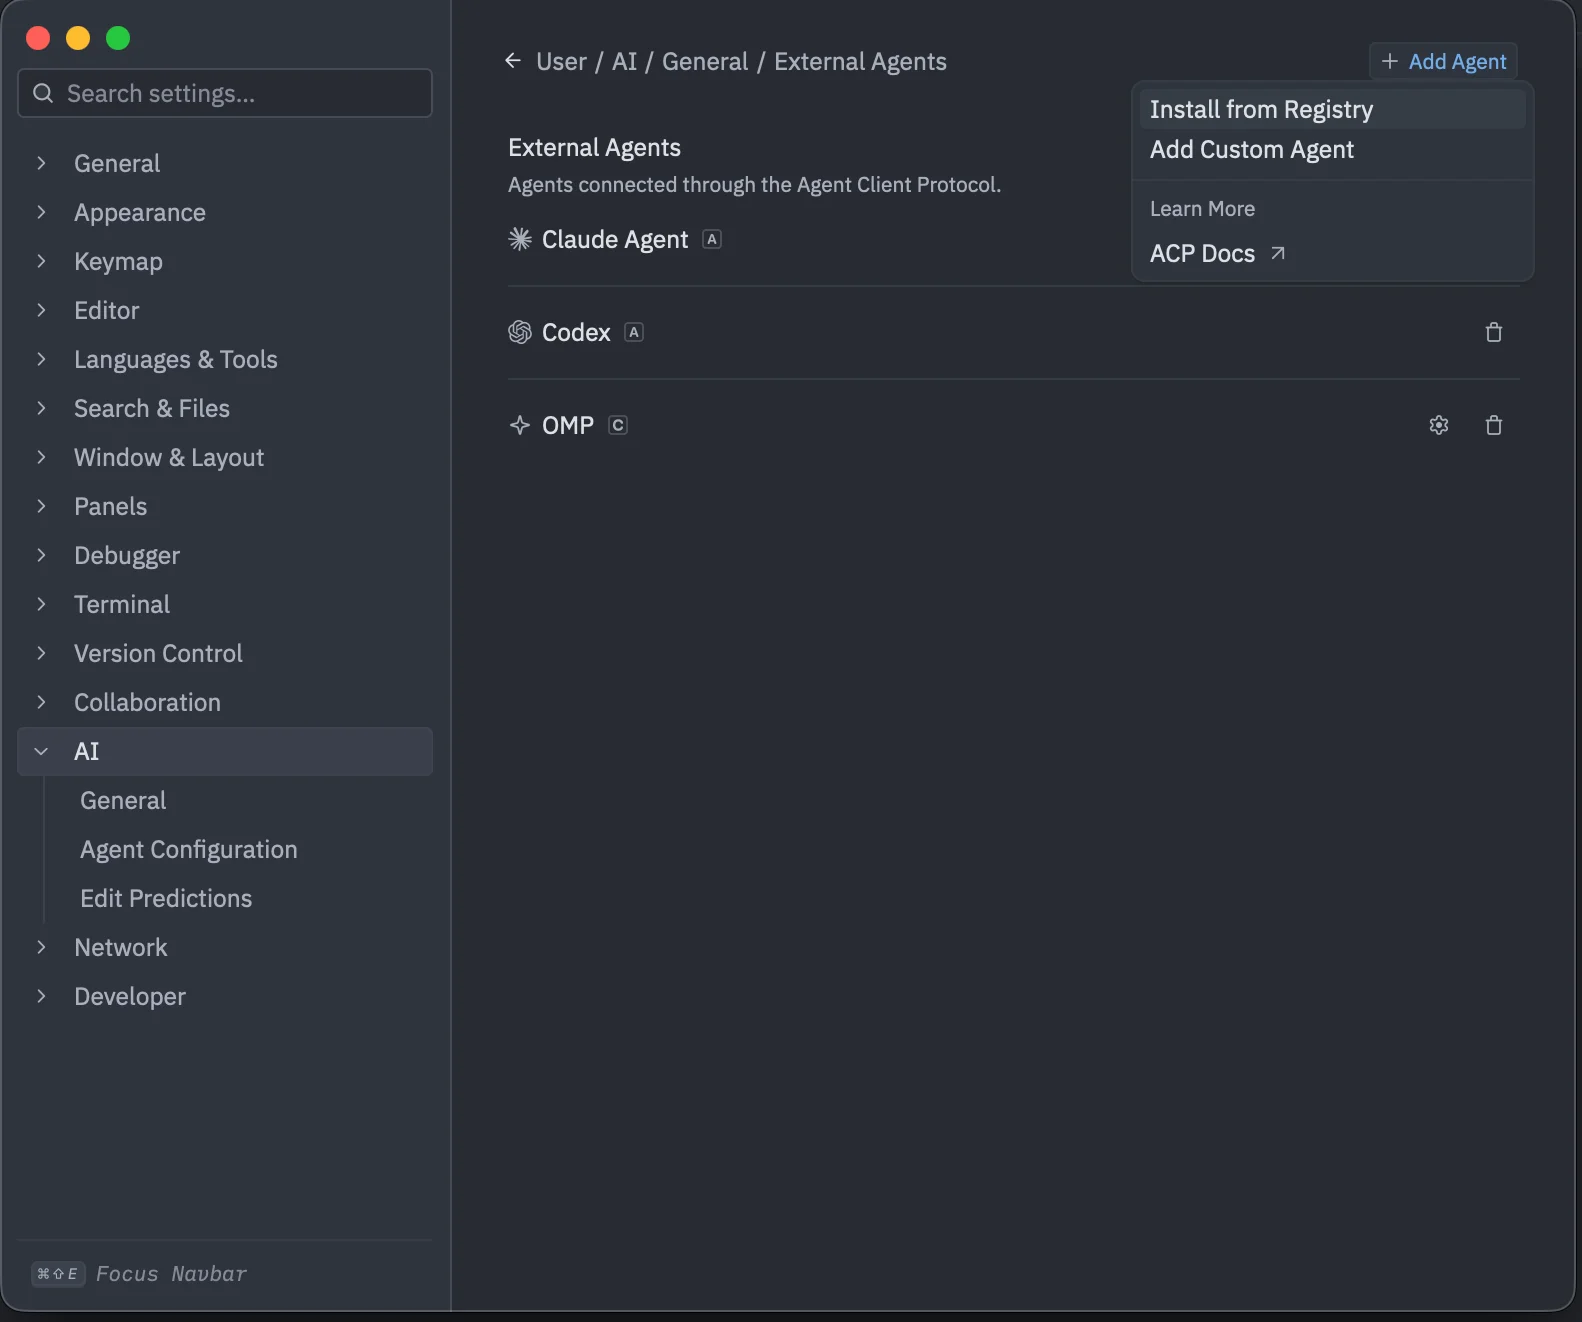
I already have 3 agents connected, but you need to click Add agent -> Install from registry
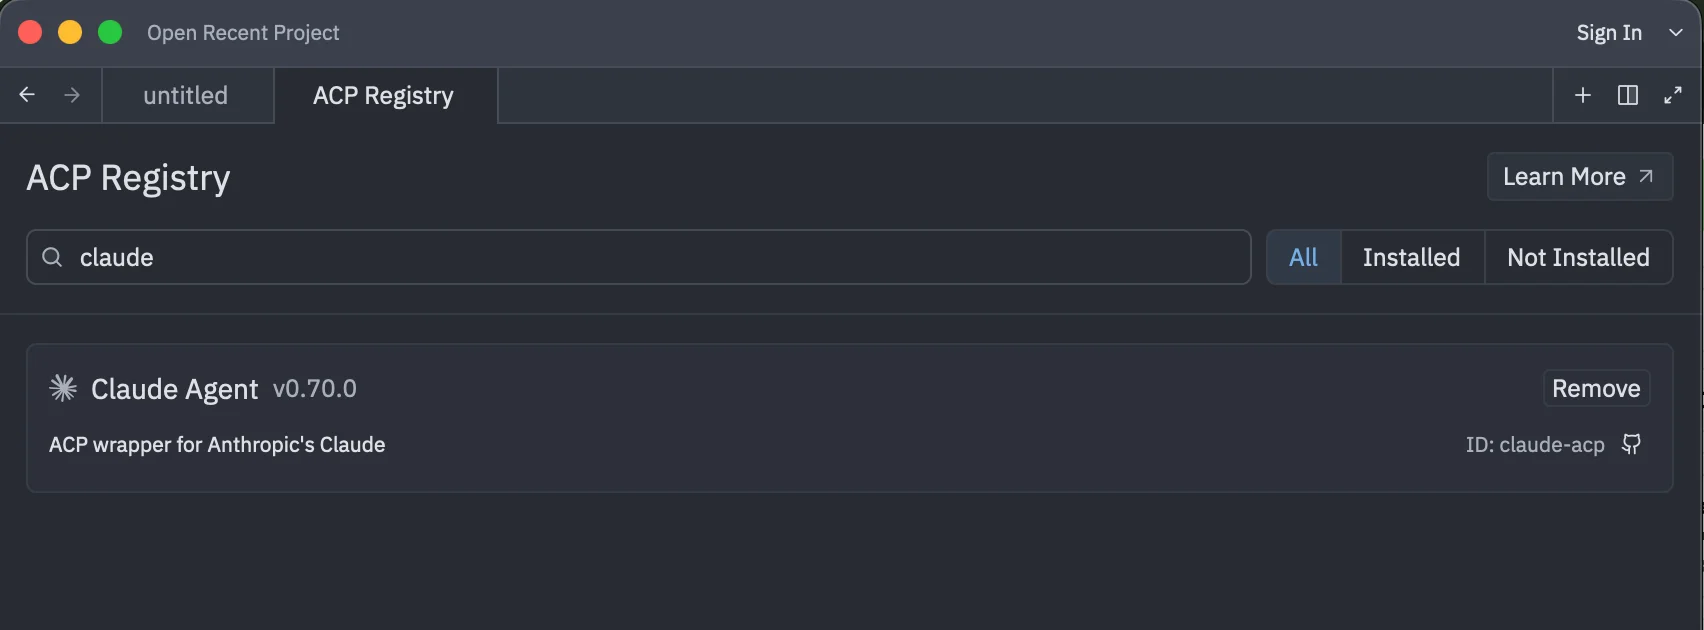
Type "claude" into the search bar and click Install. Done.
I also recommend immediately arranging the agent panel and session panel in the settings in a way that is more convenient and familiar to you.
Important note:
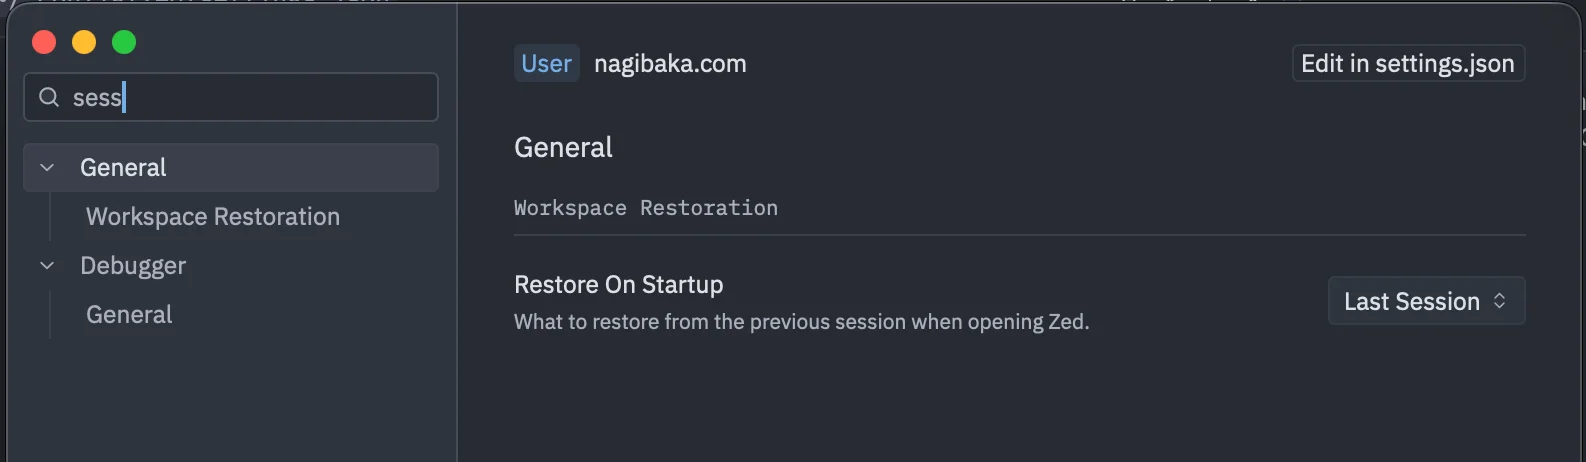
In the settings, also find the item Restore on startup, so that your settings do not get reset. And you need to exit the application using Cmd+Q, otherwise the settings may also be lost,
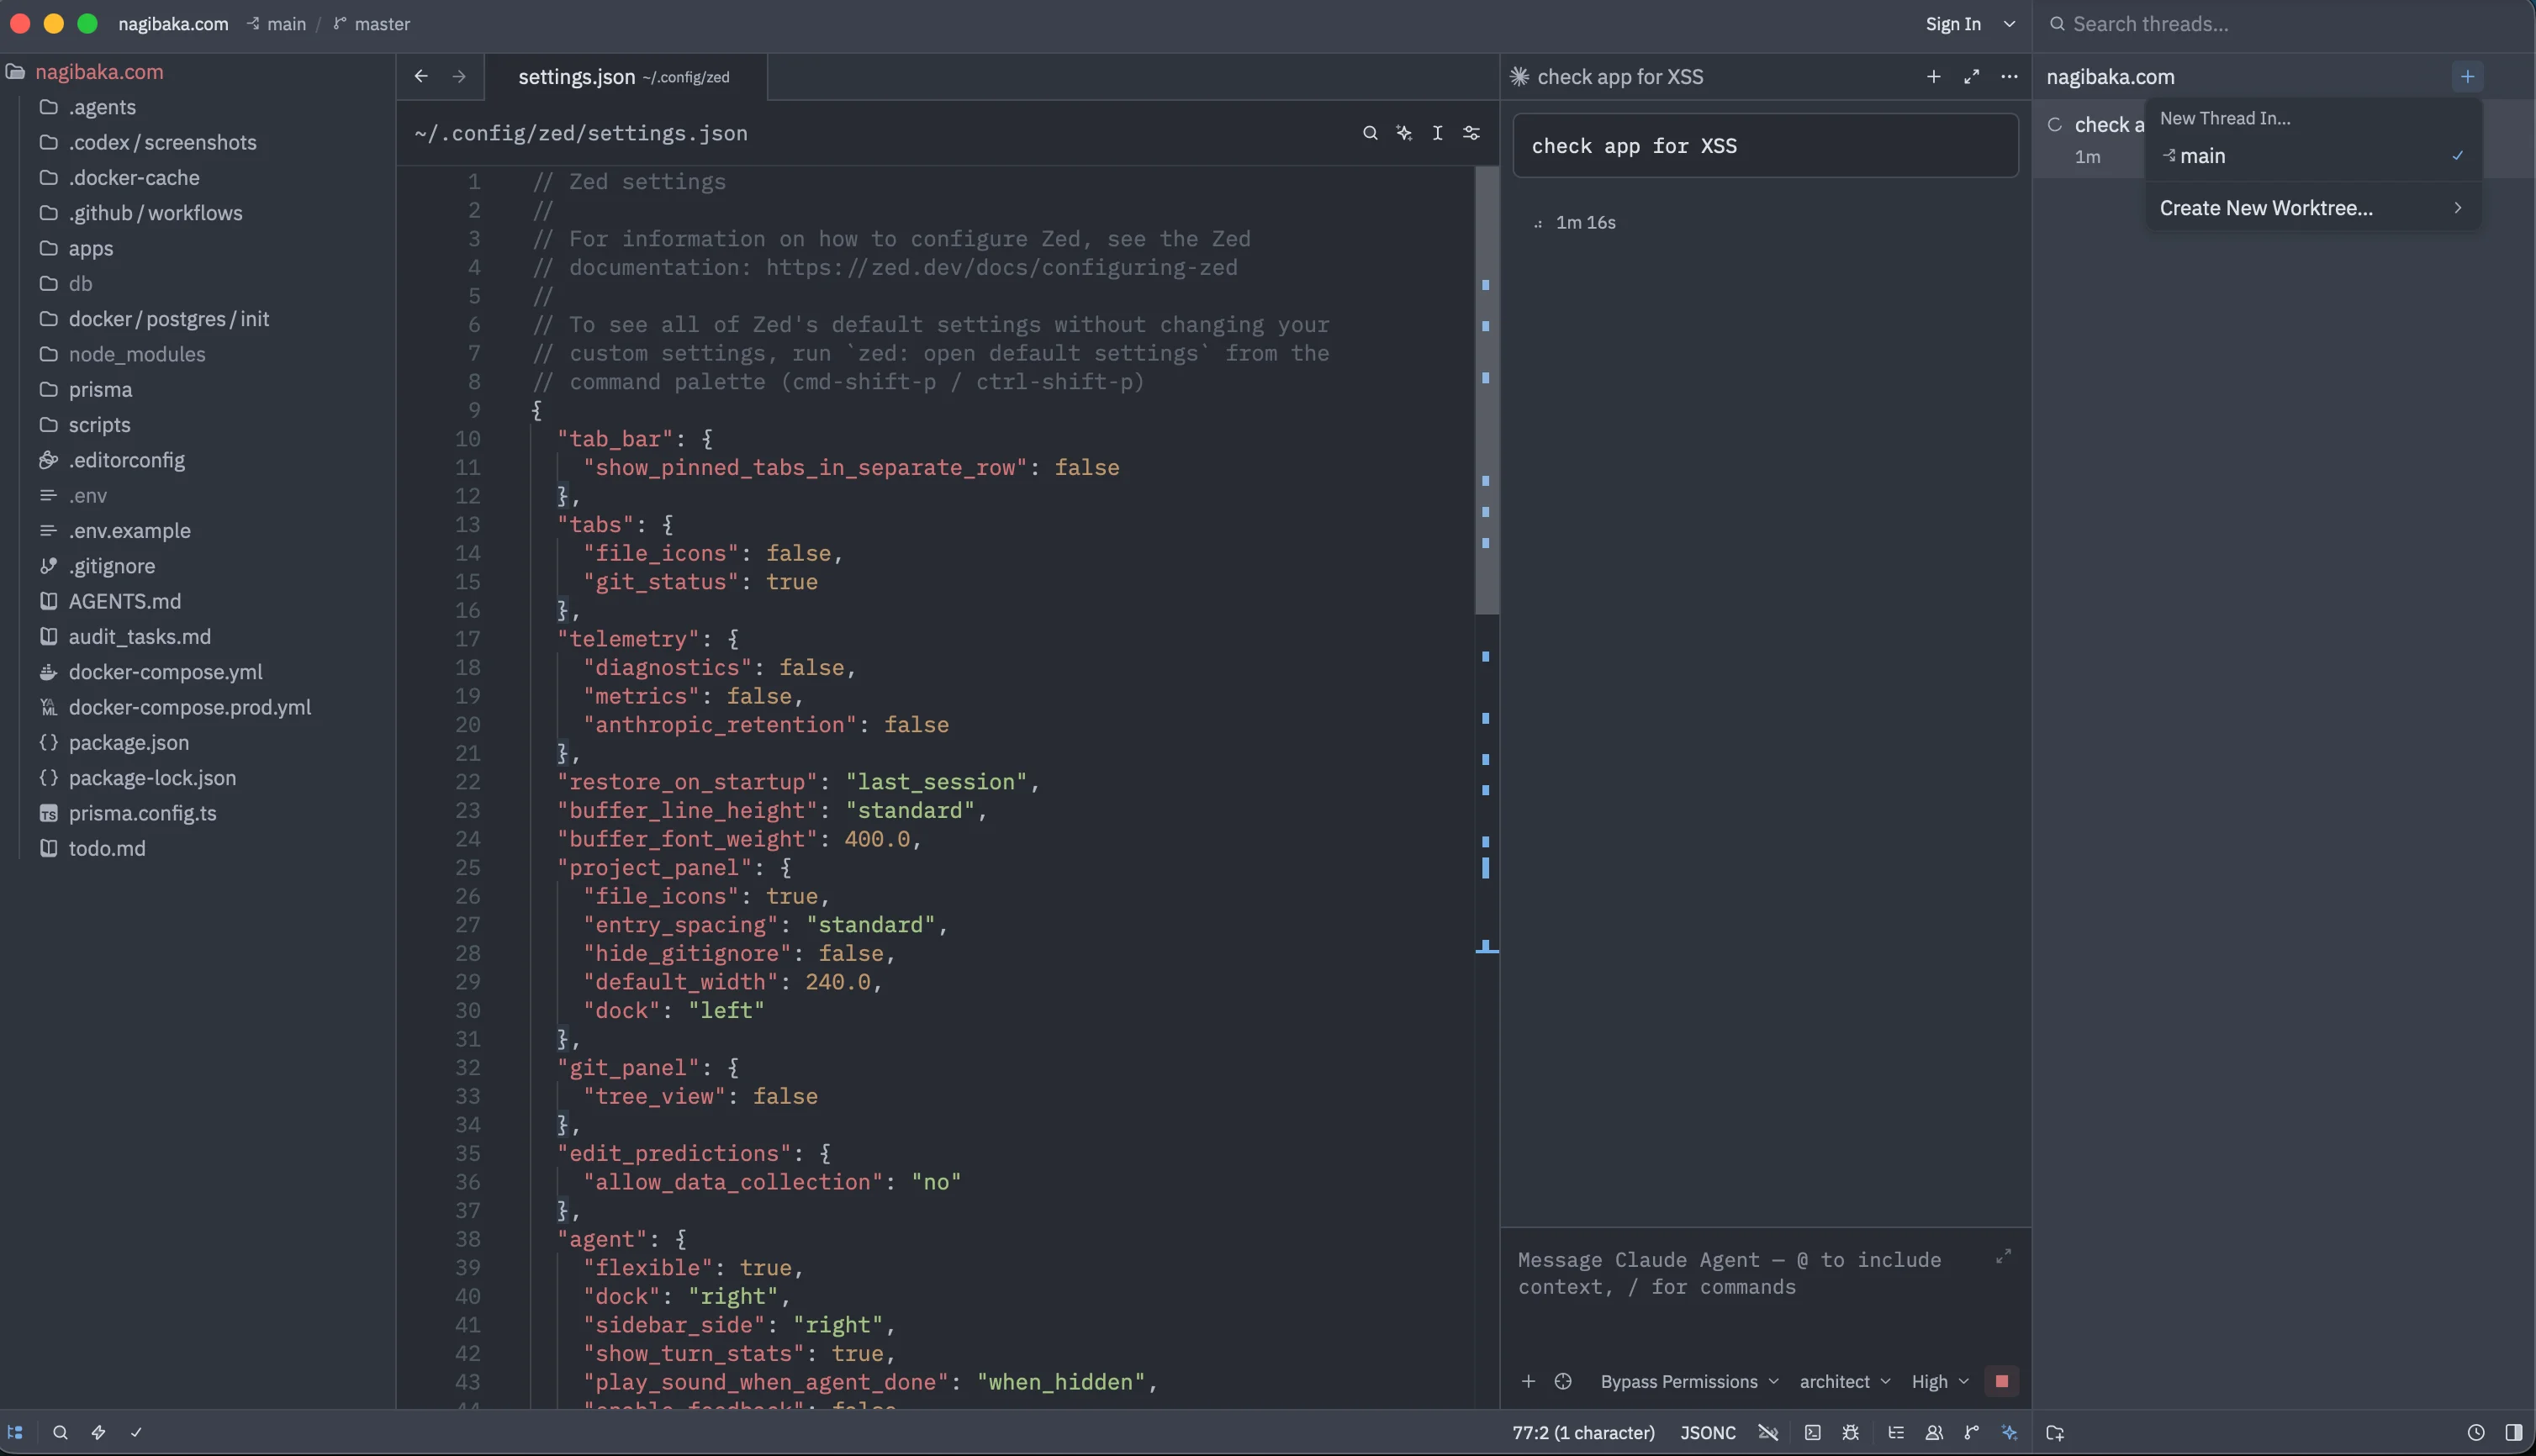
For me, it looks like this - on the right are projects (sessions) + chat, on the left - the file tree and the file editing window.
That's all!